
Who doesn't love a good mushroom ? Whether on a pizza, or hanging out in the garden with the gnomes. Here is the how to for these super nifty garden mushrooms! You can of course take this how to and tweak it, this is a pretty forgiving project. The measurements I've given are just a guideline and you can use whatever size pots, and saucers you want, given of course that they fit together! :)
For the small mushroom you will need-
- -Two small Terra-Cotta pots, one inch and a 1/2 pot ( pretty tiny) and one 3 inch pot, for the stem.
- -One 4 inch Terra Cotta saucer
For the medium mushroom you will need-
- -One 5 and 1/2 inch pot for the stem
- -Two saucers, one 7 and 1/2 inch and a 4 inch.
For the large mushroom you will need-
- -Two pots for the stem, one 5 and 1/2 inch pot and one 3 and 1/2 inch pot.
- -Two saucers for the top, one 10 inch, and one 5 and 1/2 inch.
Other materials needed:- -Flat marbles in color of your choice (they usually come in mesh bags, found at any craft store)
- -You can use polished pebbles (also in mesh bags at the craft store), or more flat marbles to cover the mushroom cap surface.
- -Acrylic paint in shades of tan or creme
- -Paint brush and sponge
- -Ceramic Tile Adhesive and Caulk in white
- -Clear Acrylic Gloss (or matte), water-resistant spray coat.
- -Grout is optional, I didn't use it but if you prefer that look go ahead and use it.
--------------------------------------------------
Assembly-
Here is where the fun begins! Like I said this project is very forgiving so don't be afraid to use different sized pots than the ones I used, and different colored marbles or stones.
Step 1.) For the two larger mushrooms that have two saucers put together for the top. Flip the smaller saucer over so that the bottom is facing up and stack that on top of the larger saucer, which should also have the bottom facing up..they should resemble a mushroom cap when placed together. Then use the Ceramic Tile Adhesive to affix the smaller saucer on top of the larger saucer, let these dry for 24 hours.
Step 2.) For the small mushroom and the large one that have more than one pot stacked together for the stem, do the same thing as in step one. Using the tile adhesive, glue the smaller pot on top of the larger pot (just like you were stacking them ) and let dry for 24 hours.
Step 3.) After base pots dry for 24hrs, paint the mushroom "stems", with acrylic paint. I used a tan base coat, let that dry then applied a lighter creme or tan color, and using a dry sponge dragged it down the sides for a layered effect, it makes it look more like a real mushroom stem. Let paint dry.
 Step 4.)
 After paint is fully dry, using tile adhesive affix the mushroom tops to their bases with a liberal amount of adhesive, let dry 24hrs again.
Step 5.) Now using the tile adhesive again, or a heavy duty glue, begin applying the flat marbles on to the top of the "mushroom caps", and down the sides, in whatever pattern or colors you wish. When you begin affixing the marbles and pebbles to the sides of the saucers, they might slide a little so sometimes you have to hold each marble or pebble in place for a few seconds until it sticks by itself. Let dry for 24 hrs again.

 Step 6.)
 If you plan on putting your mushrooms outside spray them using a water resistant clear gloss, or matte spray.
It is a fair bit of work but when you are done you'll have a lovely set of mushrooms for your garden or home!
 It's that time of year again, time to rake up all those dead leaves laying around in the yard. What you may not know is that sometimes a few of these dead leaves rise again to become... zombie leaves!! :)

 Boo-quet
 The small version of the Black Eyed Susans in my yard.
 Neato and a little spookyish weed seed pods.
 Globe Thistle seed head
 Dried Sea Oats.
 Martha's version of a boo-quet
 Purple spider plant that I can't think of name of right now... pretty good caption huh.

 I decided to take some pictures in the garden the other day, before the frost kills all the little lovelies. After taking the pictures & upon reviewing them I thought "Hmmm there's something fishy about those snapdragons...but I just can't put my finger on it". :)
 Lawn and Garden Gnomes are always a good idea!
 An antique wooden ladder becomes the perfect trellis, courtesy of my Mom!
  A pair of old ceramic salt and pepper shakers and a glass spire decorate a potted plant in my backyard.
 Rock yard snails from Uncommon Goods
 Want another nifty and thrifty yard ornament idea? How about these ladybugs made from old bowling balls from Birds and Blooms. I think I might have a thing for bowling ball art.

 After finding my Grandfather's old bowling ball a couple of years ago I started (but never finished :P) this tutorial on a mosaic bowling ball for the garden, pictured below. However, Marisa's lovely finished mosaic bowling ball is pictured below my un-finished version. If you have an old bowling ball I highly recommend this project, it's cheap, relatively easy, and looks great hiding amongst plants.
 Marisa's finished piece!
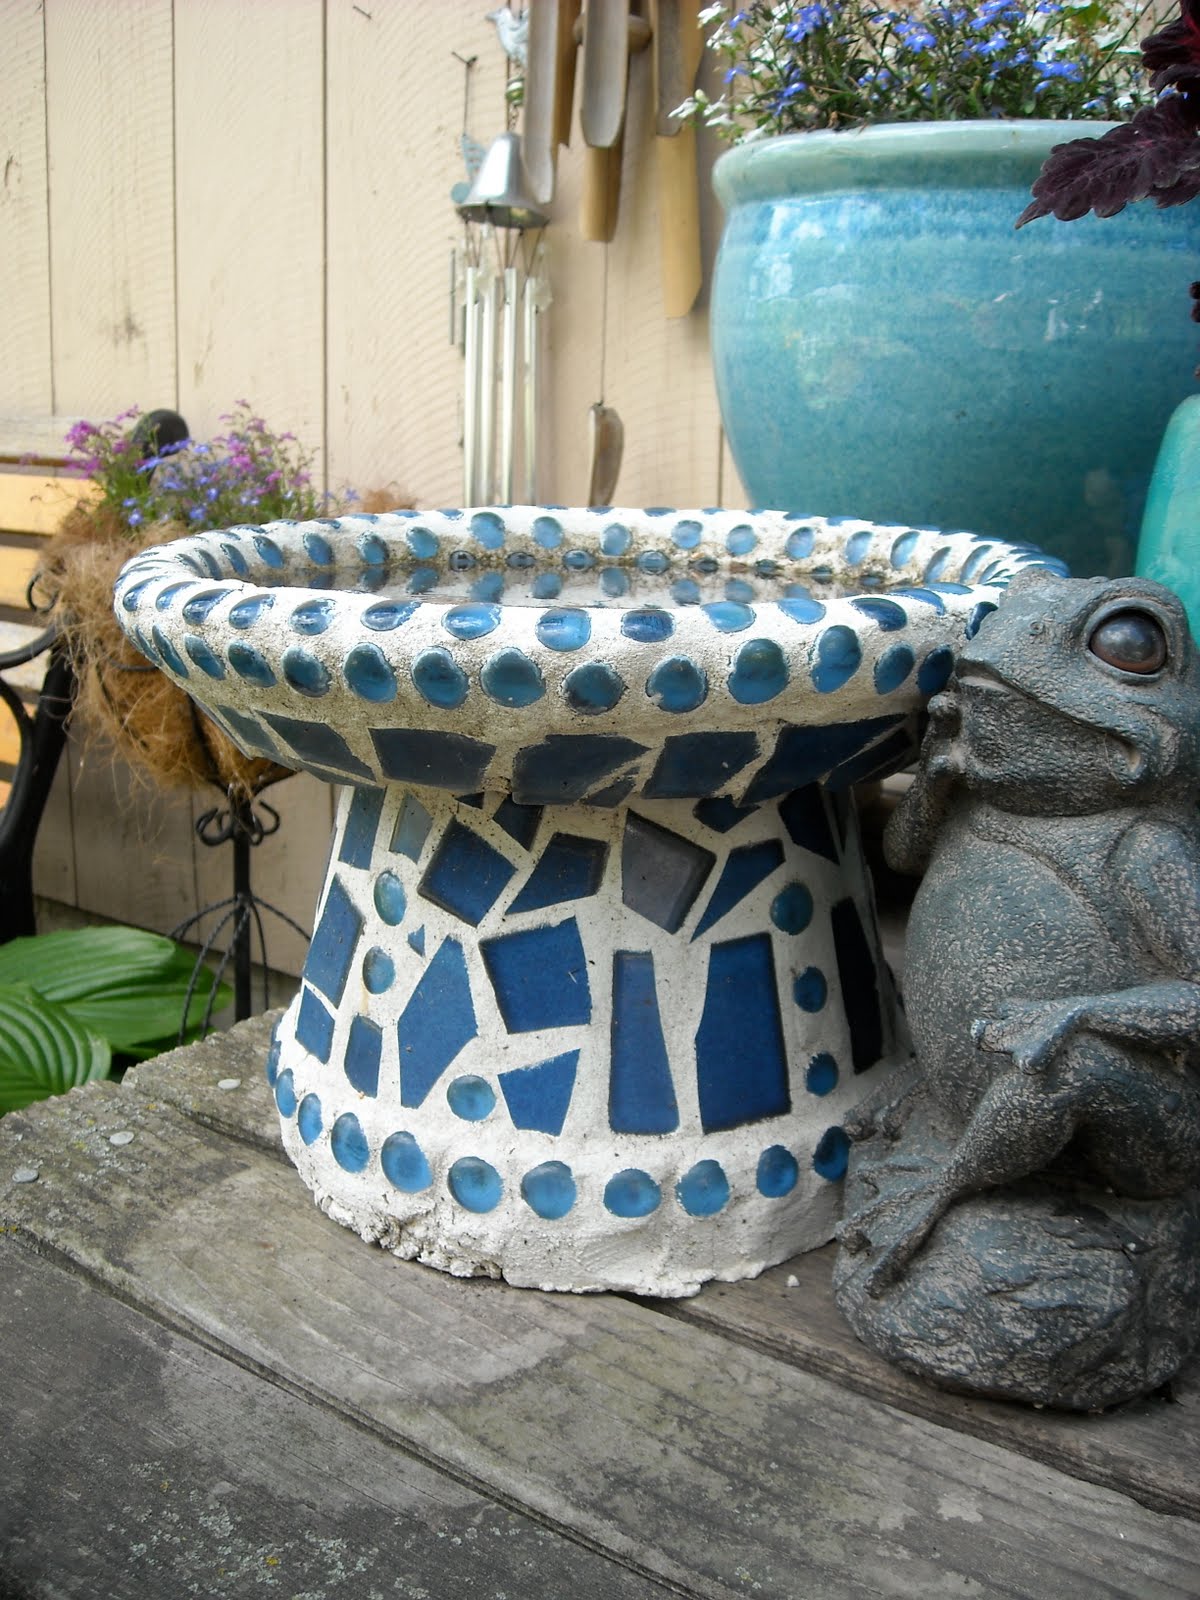 Mosaic birdbath


 Remember my sink planter idea from last year? Here it is in full bloom now with shades of blue and white!
 This second installment of creative gardening ideas is all about clever and unique planters. Pictured above is an old wash tub set filled with annuals next to my Mom's shed. The wash tubs already have drainage holes so they are perfect for planting. I love how she planted them to mirror each other! Wash tubs like these can be found at most antique markets, flea markets, or even garage sales. These wash tubs were from my Great Grandfather's house and have been sprayed with a coat of silver Rustoleum to prevent rusting and give them added shine. The legs have been set on old broken stepping stones so it has level footing.
 The wash tubs before planting.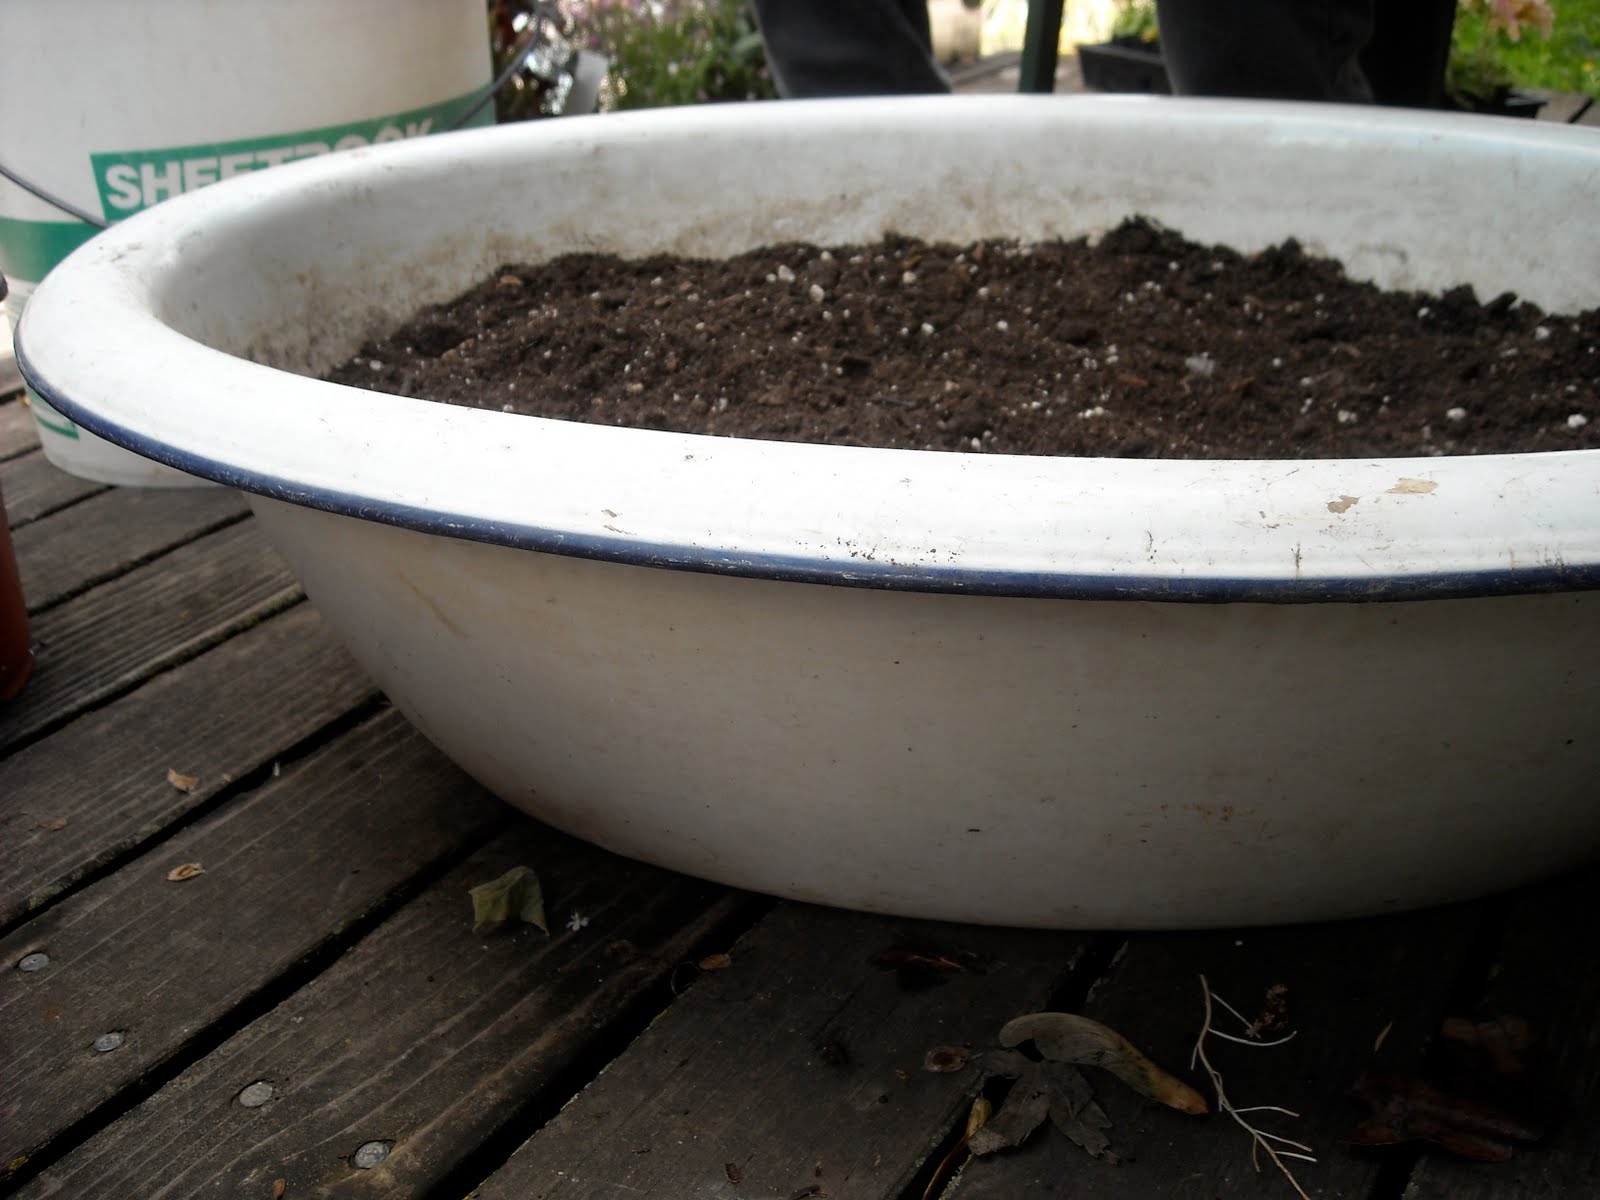
 The finished product with terra cotta added for interest :) Don't you love the cat planter in the background?
 An old roasting pan and baby bath make a lovely place for shade loving Pansies.
 A lovely butterfly in my Mom's garden


 Posts
Posts


